Entry · Ref 8AJD_XKJ
What You Need to Build a Useful Drone Map
- Posted
- 2026-11-14
- Last amended
- 2026-11-14
- Account
- @aboveground
Creating a drone map that actually helps someone make a decision - whether that is measuring a stockpile, checking crop health, or inspecting a roof - takes more than just flying a drone and taking pictures. The raw imagery a drone captures is a good start, but turning it into a georeferenced orthomosaic requires careful planning and the right set of files. Understanding what those files are and why each one matters saves time and prevents the frustration of a map that does not line up, measure correctly, or even render properly.
The core output: the orthomosaic itself
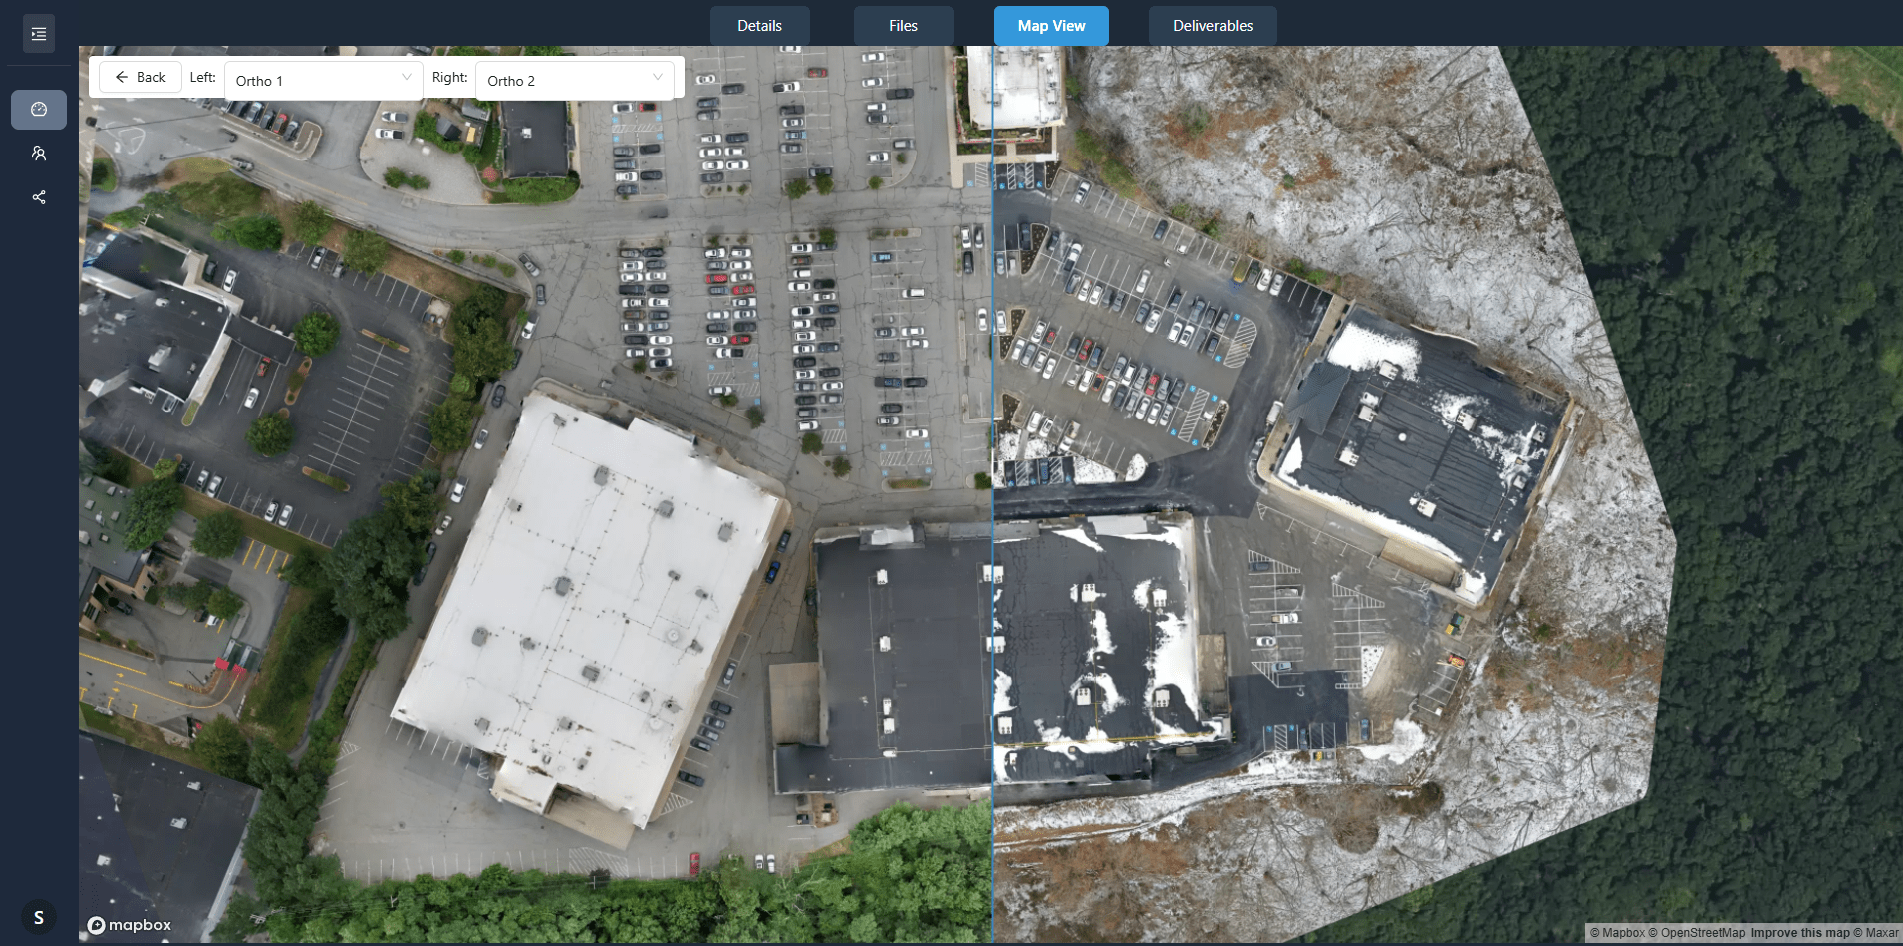
The most visible result of any mapping flight is the orthomosaic - a single, seamless, geometrically corrected image made by stitching together many overlapping photos. Unlike a simple photo mosaic, an orthomosaic has been adjusted so that every pixel corresponds to a real-world coordinate. This means you can measure distances, areas, and volumes directly on it. The orthomosaic is often delivered as a GeoTIFF file, which embeds spatial reference information directly into the image file. Without that embedded coordinate data, the image is just a pretty picture, not a usable map.
Why the GeoTIFF matters
A standard JPEG cannot store coordinate system or ground sampling distance data. A GeoTIFF can. When you load it into GIS software or a drone data platform such as DataDelivery, the software knows exactly where each pixel sits on the Earth. This is what allows you to overlay the orthomosaic on other maps, take measurements, or compare it with a survey from last month. If your workflow ends with a flat image file, you are missing the spatial intelligence that makes drone mapping valuable.
The supporting files that make the map useful
An orthomosaic alone is powerful, but for serious analysis you need a few companion files. These are not always delivered by every processing tool, but they are essential for professional workflows.
Digital surface model (DSM)
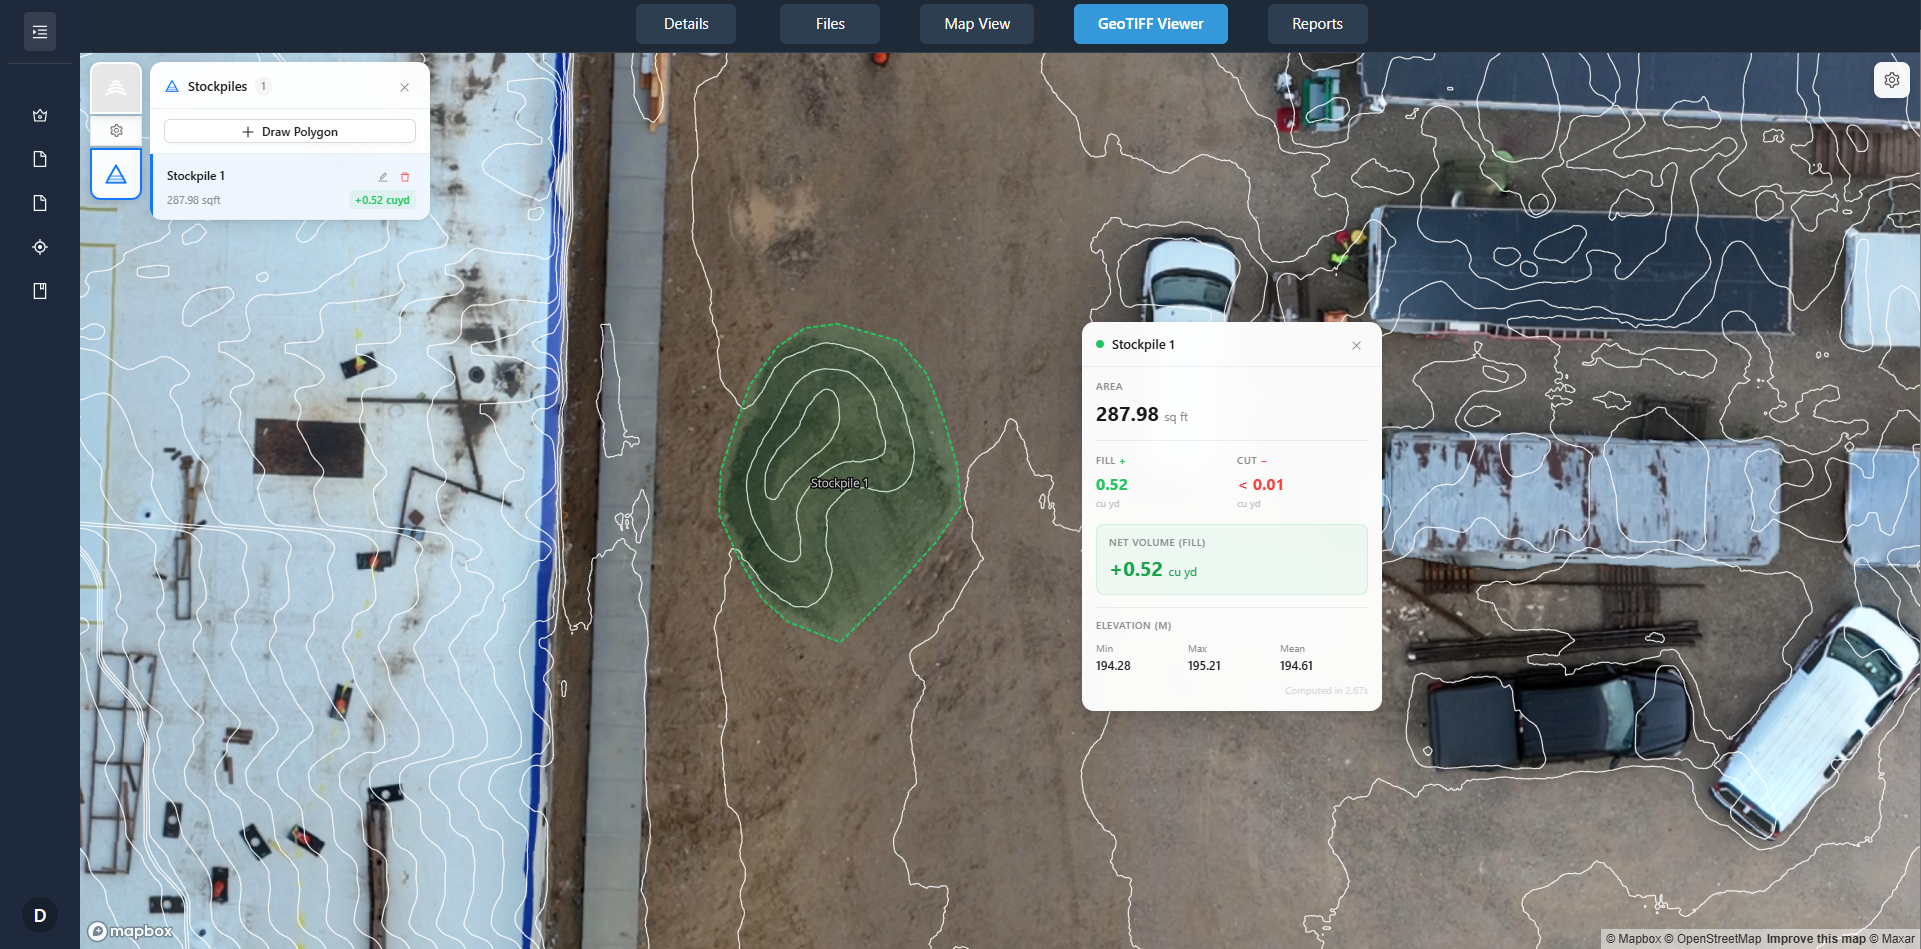
A DSM is a raster file where each pixel stores the height of the tallest object at that spot - tree canopy, building roof, or bare ground. When combined with the orthomosaic, it lets you measure heights and volumes. For example, calculating the cubic meters of gravel in a stockpile requires both the plan-view area from the orthomosaic and the height data from the DSM. Without the DSM, volume estimates are guesses.
Digital terrain model (DTM)
Where the DSM records the top surface, a DTM strips away vegetation and structures to show the bare ground. It is generated by classifying points in the point cloud and interpolating the ground surface. A DTM is critical for drainage analysis, cut-and-fill calculations, and any project where you need to understand the underlying terrain rather than what is sitting on top of it.
Point cloud
Before the orthomosaic is built, the photogrammetry software creates a point cloud - a dense collection of 3D points derived from matching features across overlapping images. The point cloud is the raw material from which the DSM, DTM, and orthomosaic are all generated. Having access to the point cloud lets you do further analysis, such as classifying vegetation or exporting a subset of points for engineering design. Some platforms let you view and measure the point cloud directly, which can be more flexible than working only with the raster surfaces.
Orthomosaic processing report
Every mapping project should include a processing report that documents the quality of the output. This typically includes the ground sampling distance achieved, the number of images used, the overlap percentages, and the root mean square error of the georeferencing. That report is not a flashy file, but it is the only way to prove that the map meets your accuracy requirements. If you are delivering a map to a client or using it for a regulatory submission, the processing report is as important as the orthomosaic itself.
What goes into the processing pipeline
To get those output files, you need to feed the software with the right inputs. The most critical input is the set of raw images with the correct overlap. For photogrammetry to work, you need at least 75% front overlap and 60% side overlap. Less than that, and the software cannot reliably match features between images, leading to gaps or distortion in the orthomosaic.
Alongside the images, you need geospatial reference data. This can be ground control points collected with a survey-grade GPS, or it can come from the drone's onboard GPS and a base station correction. Without accurate positioning, the orthomosaic will drift from its true location. For most projects, a combination of the drone's GPS and a few check points measured on the ground gives a good balance of accuracy and effort.
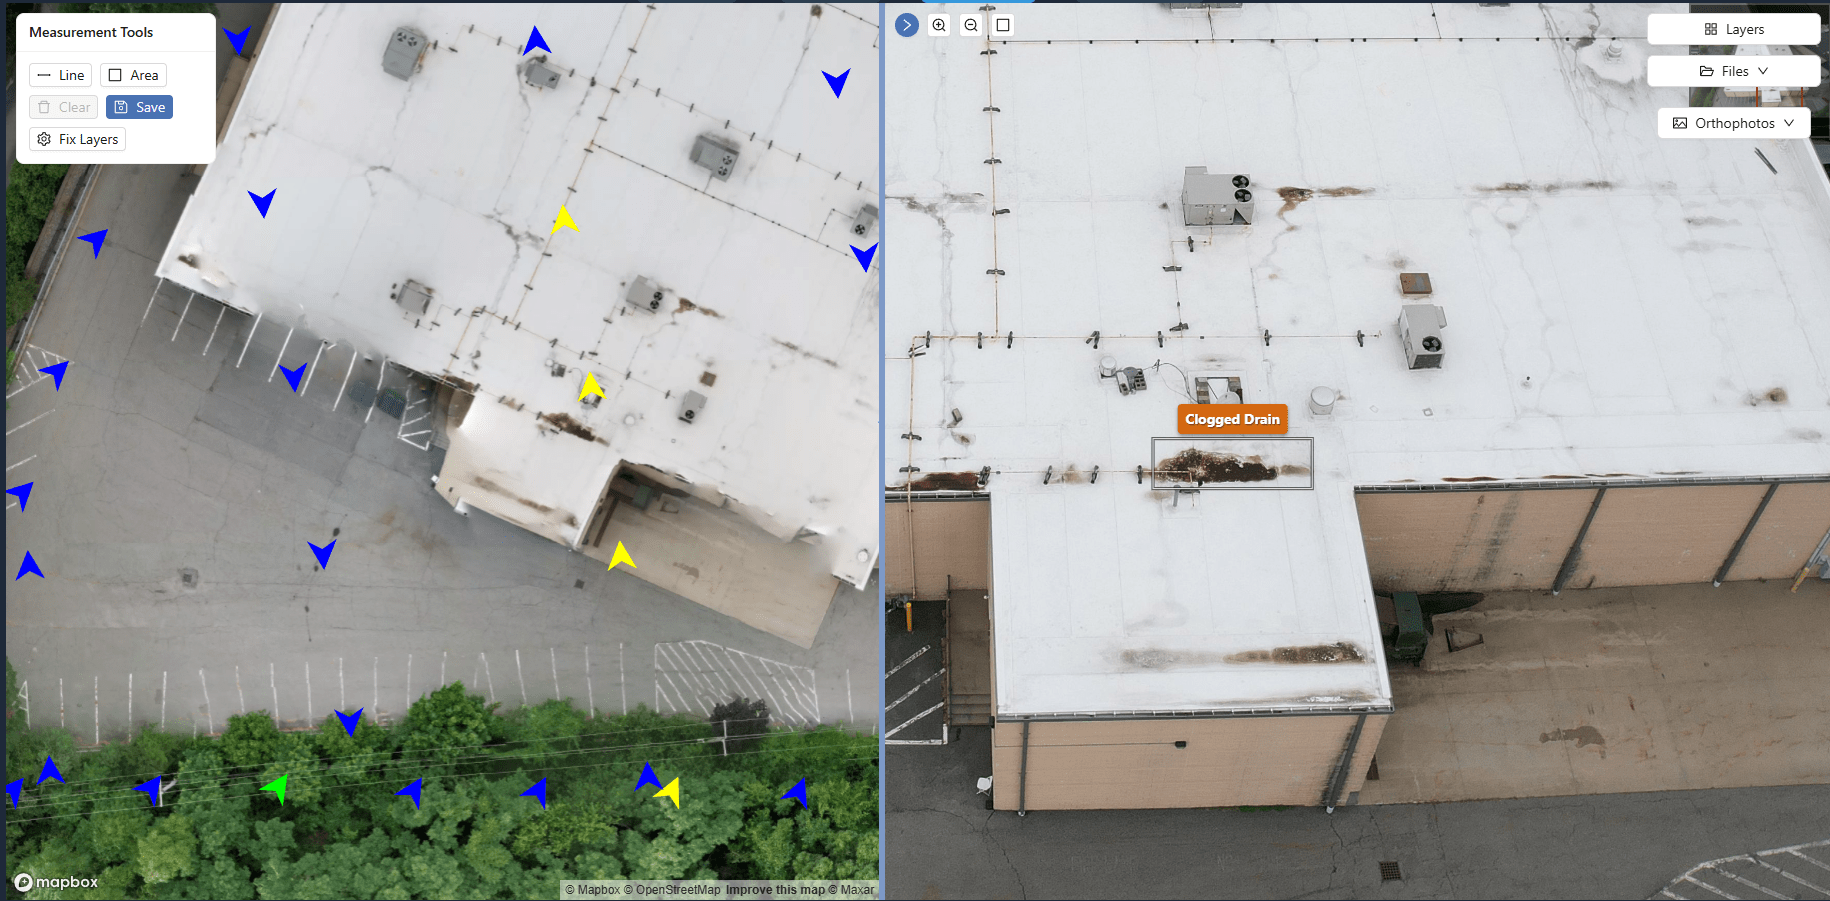
The exact phrase "orthomosaic processing" describes this entire pipeline - from loading images and reference data to generating the final georeferenced product. A platform like DataDelivery handles this step, allowing you to upload raw imagery and receive the orthomosaic, DSM, DTM, and point cloud without needing to run the photogrammetry software on your own computer. This is where the choice of coordinate system also matters. If your project uses a local coordinate system, the processing must account for that. Otherwise, the map will not align with existing site plans.
Choosing the right coordinate system
Coordinate systems are a frequent source of confusion. For a drone map to overlay correctly with other data, the orthomosaic must be projected in the same coordinate system as that data. In the United States, State Plane is common for engineering projects. In other parts of the world, UTM is standard. If you are working with a global platform, WGS84 is the default. The important thing is to set the coordinate system at the start of processing, not after the fact. Reprojecting a GeoTIFF after it is built can degrade its accuracy.
Ground sampling distance and resolution
Ground sampling distance (GSD) is the distance between the centers of two adjacent pixels on the ground. A GSD of 2 cm per pixel means each pixel represents a 2 cm square. Lower GSD values give finer detail but require flying lower and slower, which increases flight time and the number of images. For a large area, you may need to accept a slightly higher GSD to keep the project feasible. The GSD is determined by the camera sensor, the lens focal length, and the flying height. It is one of the first things to check when planning a mission, because it directly affects what you can see in the orthomosaic. If you need to identify individual manhole covers, you need a GSD around 1 cm. For vegetation monitoring, 5 cm may be sufficient.
Overlap and its effect on quality
Overlap is not just about stitching images together. Higher overlap gives the photogrammetry software more redundancy, which improves the accuracy of the point cloud and the orthomosaic. It also helps in areas with low texture, such as smooth asphalt or sand, where feature matching is harder. If your flight plan uses the minimum recommended overlap, you may end up with holes in the point cloud or visible seams in the orthomosaic. For critical projects, increasing overlap by 10% is a cheap insurance policy.
One of the trade-offs in drone mapping is between coverage area and detail. A single flight with a small sensor may cover only a few hectares at high resolution. To map a large site, you may need multiple flights or a higher-flying altitude with a lower GSD. The choice depends on what you need the map for. A map for visual inspection can tolerate a coarser GSD. A map for volume calculation or engineering design needs the highest resolution you can practically achieve.
Putting it all together
The files that create a useful drone map are more than just the orthomosaic. You need the DSM for height, the DTM for bare ground, the point cloud for flexibility, and a processing report for confidence. Each file serves a purpose, and omitting one limits what you can do with the data. When you plan a mapping project, think about the questions you want the map to answer. If you need volumes, make sure the DSM is included. If you need to overlay the map on existing plans, confirm the coordinate system matches. If you need to prove the accuracy to a client, keep the processing report handy.
The second use of the term "orthomosaic processing" appears here as a reminder that the entire workflow - from choosing overlap and GSD to exporting the final GeoTIFF - is what turns a collection of images into a reliable map. It is not a single button press. It is a series of decisions about inputs, settings, and outputs, each of which affects the final product. Understanding those decisions and the files they produce is what separates a useful drone map from a pretty picture that cannot be measured or trusted.